

When it comes to book binding, there are several options to choose from. One of the most common and cost-effective methods is saddle stitch binding. This method involves using staples to bind thin books or notebooks. In this article, we will explore the basics of saddle stitch bookbinding and compare it to other binding options.
Saddle stitch binding is a popular choice in commercial bookbinding due to its speed and cost-effectiveness. It is ideal for booklets and thin books that require a professional finish without breaking the bank. However, it is important to note that this method has limitations in terms of the thickness and durability of the book.
In addition to saddle stitch binding, other common binding options include perfect binding and wire binding. Perfect binding involves gluing the pages and cover together at the spine, resulting in a sleek and polished look. On the other hand, wire binding uses wire coils to connect the pages and offers durability and the ability to lay flat when opened.
By understanding the basics of saddle stitch binding and exploring other binding options, you can make an informed decision when it comes to booklet printing and bookbinding.
Saddle stitch binding is a popular method of binding thin books or notebooks using staples. When it comes to commercial saddle stitch binding, staple bullets are used to secure the pages together, resulting in a clean and professional finish.
Compared to perfect binding, saddle stitch binding is a faster and more cost-effective option, making it ideal for projects with tight timelines and budgets. However, it’s important to note that saddle stitch binding does have some limitations.
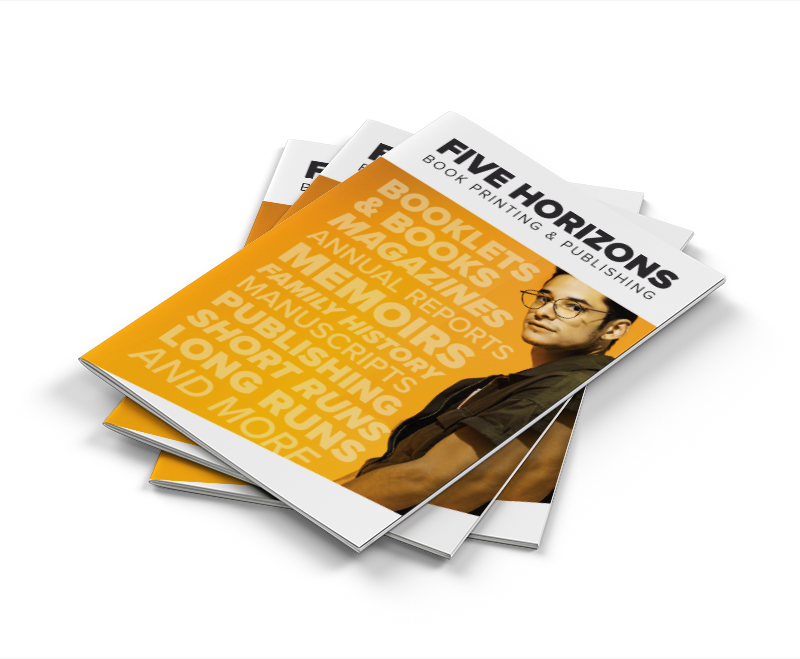
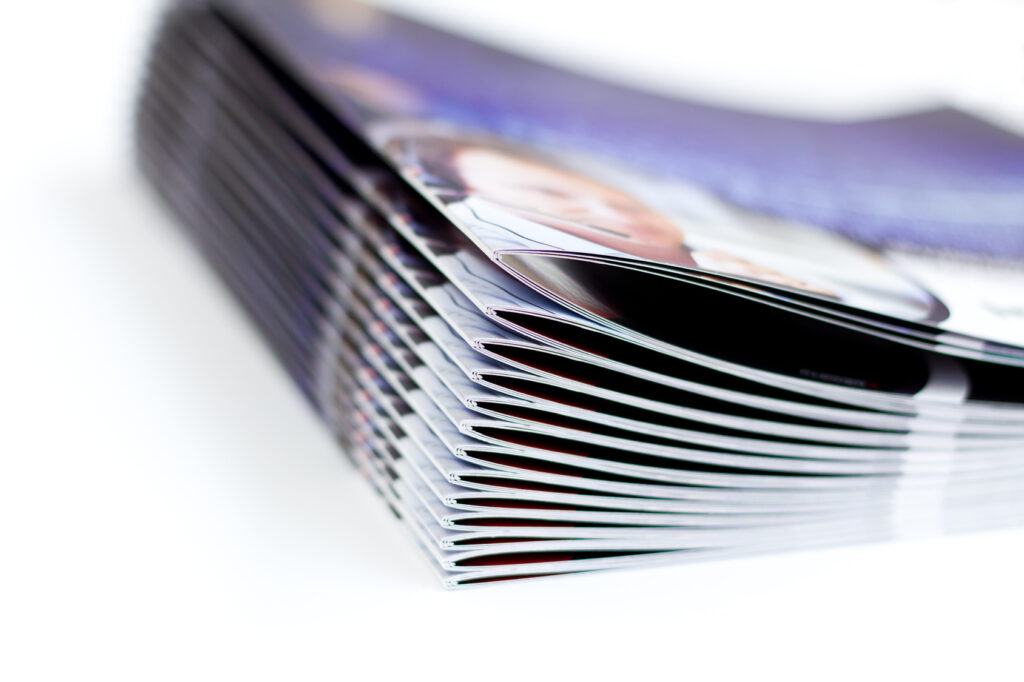
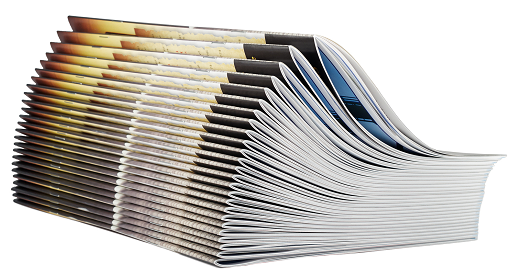
Saddle stitch books are typically made with folded paper and have a small spine. They often come with a soft book cover, providing a lightweight and flexible design. This makes saddle stitch books easy to handle and carry, making them a popular choice for brochures, pamphlets, magazines, and other publications.
While saddle stitch binding offers several advantages, it’s important to consider the limitations. The thickness of the book is limited due to the folding and stapling process, and the durability of the binding may not be as strong as other methods such as perfect binding. However, for certain applications, saddle stitch binding provides an efficient and cost-effective solution.
“Saddle stitch binding is a versatile and budget-friendly option for binding thin books and notebooks. It offers a clean and professional finish, making it ideal for various publications.”
In addition to commercial saddle stitch binding, handmade saddle stitch books can also be created using thread instead of staples. This method results in a longer-lasting book with enhanced durability, making it a great option for those seeking a more permanent binding solution.
Overall, saddle stitch binding offers a practical and cost-effective way to bind thin books and notebooks. Whether you’re printing catalogs, brochures, or informational booklets, saddle stitch binding provides a professional look and feel without breaking the bank.
Advantages of Saddle Stitch Binding Disadvantages of Saddle Stitch Binding
Saddle stitch binding is not just limited to commercial applications – it can also be a fun and rewarding DIY project. By following this step-by-step guide, you can create your own saddle stitch bound book right at home. So let’s gather our materials and get started!
Here’s what you’ll need:
Make sure you have everything ready before proceeding to the next steps.
Start by organizing your pages in the desired order. Ensure that the number of pages is a multiple of four, as each folded sheet will contribute four pages to the book.
Place your ruler along the edge of the pages where the spine will be. Use the penknife to lightly score the spine, creating a groove for easier folding.
Now it’s time to bind your book using the saddle stitch method. First, lay your pages flat and align them carefully.
Pro Tip: Make sure your pages are flush and even to ensure a professional finish.
Use the awl or hole puncher to make evenly spaced holes along the spine, piercing through all the pages.
Pro Tip: It’s a good idea to place a cutting mat underneath your pages to protect your work surface.
Thread your needle with waxed thread, ensuring it’s long enough to span the entire length of the spine.
Pro Tip: Waxed thread helps prevent fraying and increases the longevity of your book.
Starting from the middle hole, sew through the holes in a diagonal pattern, ensuring the thread passes through each hole twice. This will create a secure and durable binding.
After binding your book, fold it in half along the spine, creasing the pages. Use a bone folder or ruler to smooth out any wrinkles or imperfections.
Trim the edges of your book to create clean, even edges. You can use a penknife and ruler for this step.
And that’s it! Your saddle stitch bound book is now complete. Admire your handiwork and enjoy your new creation.
Step Description: 1 Gather materials and tools, 2 Prepare the book pages, 3 Create the book spine, 4 Bind the book with saddle stitch method, 5 Complete the book by folding and trimming the pages.
In addition to saddle stitching, there are other common types of booklet binding. These include wire-o binding, spiral binding, and perfect binding. Each method has its own advantages and is suitable for different types of publications.
Each of these binding methods offers unique features and advantages. The choice of binding method depends on the type of publication, budget, and desired functionality of the booklet.
While saddle stitch binding, wire-o binding, spiral binding, and perfect binding are commonly known booklet binding methods, there are other less common options available. These alternative binding methods offer unique features and advantages, although they may not be as widely used as the more popular options. Let’s explore some of these lesser-known booklet binding methods:
Sewn bound booklets provide durability and a professional finish. This method involves sewing together folded pages, creating a strong and long-lasting binding. There are two variations of sewn bound booklets: center sewn binding and side sewn binding.
Comb binding is a simple and cost-effective method that uses a plastic comb to hold the pages together. This binding allows for easy page insertion or removal, making it suitable for documents that require frequent updates or revisions.
Screw binding is a robust and secure binding method that uses screws rather than staples or glue. This binding allows for easy disassembly and reassembly, making it ideal for documents that need to be updated or expanded regularly.
Tape binding involves adding a strip of adhesive tape to the spine of the booklet, creating a clean and professional appearance. This method is often used for presentations or reports that require a polished look.
Side stitch binding, also known as side stapling, involves stapling the wire directly into the front cover of the booklet. This method creates a unique and visually appealing binding that adds a touch of creativity to your booklets.
While these binding methods may not be as commonly used as saddle stitch or perfect binding, they offer distinct features and advantages. The table below provides a quick comparison of these less common booklet binding methods:
Binding Method Advantages Sewn Bound Durability and professional finish, Comb Binding Easy page insertion or removal, Screw Binding Easy disassembly and reassembly Tape Binding Clean and professional appearance, Side Stitch Binding Unique and visually appealing binding.
These alternative booklet binding methods offer versatility and can be tailored to suit various printing and binding needs. Consider the advantages and characteristics of each method to select the most suitable option for your specific requirements.
In addition to the more common and less common types of booklet binding, there are also unique types of binding that offer a creative and distinctive way to bind booklets. These include carabiner binding and hidden wire-o binding.
Carabiner binding is a unique and eye-catching method of binding booklets. Instead of traditional binding methods, the pages are attached to a custom-branded carabiner. This adds a touch of modernity and functionality, allowing the booklet to be easily opened and closed. Carabiner binding is often used for promotional materials or event booklets, as it offers a unique and memorable presentation.
Hidden wire-o binding is a combination of two popular binding methods: wire-o binding and perfect binding. This method provides the durability and lay-flat capability of wire-o binding, while also offering the sleek and professional appearance of perfect binding. The wire-o binding is positioned inside the spine of the booklet, creating a seamless and polished finish. Hidden wire-o binding is commonly used for notebooks, journals, and magazines, providing a practical yet visually appealing solution.
Binding Method Advantages Disadvantages Carabiner Binding – Unique and eye-catching
– Easy to open and close
– Custom branding opportunity – Limited page capacity
– Not suitable for heavy-duty use Hidden Wire-O Binding – Durable and lay-flat capability
– Sleek and professional appearance
– Pages can be easily added or removed – Limited thickness capacity
– Higher cost compared to other binding methods
These unique binding methods provide an opportunity to stand out and make a lasting impression with your booklets. Whether you choose carabiner binding for a modern and functional approach, or hidden wire-o binding for a seamless and professional finish, you can create booklets that are both visually appealing and practical.

When it comes to saddle stitch binding, there are specific guidelines and suggestions to keep in mind. By following these guidelines, you can ensure successful saddle stitch book binding and create high-quality booklets.
One important consideration when designing saddle stitch booklets is the page count. It is recommended to have a page count that is a multiple of four. This is because each folded sheet adds four pages to the booklet. For example, a booklet with 8, 12, or 16 pages would be ideal for saddle stitch binding.
Another factor to keep in mind is creep. Creep refers to the narrowing of inner pages in bound books due to the folding and binding process. To account for creep, it is advisable to leave additional margin space on the inner pages. This ensures that the content remains visible even after binding.
If you’re new to designing saddle stitch booklets, you can learn the process using Adobe InDesign. Adobe InDesign is a popular software used by professionals for layout design. With Adobe InDesign, you can easily set up your document, create different page layouts, and prepare your design for printing.
“Learning to design saddle stitch booklets using Adobe InDesign can be a fun and rewarding process. With its user-friendly interface and powerful tools, you’ll be able to create stunning booklets in no time!” – Sorcha Hopmans, Graphic Designer
There are many online tutorials and resources available to help you learn the process of designing saddle stitch booklets using Adobe InDesign. These resources provide step-by-step instructions, tips, and tricks to ensure your booklet design is optimized for saddle stitch binding.
Proper file setup is essential for saddle stitch binding. By following the correct steps, you can ensure that your booklet is printed and bound accurately. Here’s a step-by-step guide on how to set up your files and export them for saddle stitch binding:
Start by setting up the document size, margins, and bleeds. The document size should match the finished size of your booklet, taking into account the fold and binding margins. Make sure to include a bleed area to avoid any content being cut off during the trimming process.
When exporting for saddle stitch binding, you have two options. The first option is to export your document as a single-page PDF with no crop marks or bleeds. This is suitable when your booklet is smaller in size and does not require multiple pages to be imposed on a single sheet.
The second option is to use InDesign’s print booklet feature to create an imposed file. This type of file arranges multiple pages on a single sheet, ready for folding and binding. Before exporting, make sure to create a postscript file using the print booklet feature.
Once you have the postscript file, you can use it to create the final PDF with crop marks and bleed settings. This file is ready for printing and trimming. It is important to export with proper crop marks to ensure accurate cutting for a professional finish.
Here’s an example of how your document setup and exporting process for saddle stitch binding might look:
Step Description: Step 1 Set up document size, margins, and bleeds, Step 2 Export as single-page PDF or use print booklet feature to create imposed file, Step 3 Create final PDF with proper crop marks and bleed settings.
By following these steps, you can ensure that your files are properly set up and ready for saddle stitch binding. This will result in accurately printed booklets with professional quality binding.
Each bookbinding method offers its own set of advantages and disadvantages. Understanding these aspects can help you make an informed decision on which method to choose for your project. Let’s explore the pros and cons of some popular binding options:
Advantages:
- Cost-effective option for thin books and booklets
- Enables easy page-turning due to the flat spread
- Quick production time
Disadvantages:
- Limited thickness capacity
- Not as durable as other methods
Advantages:
- Professional appearance
- Can accommodate larger book sizes
- Allows easy printing on the spine
Disadvantages:
- Difficult to modify or alter once bound
- May not lie completely flat when open
Advantages:
- Durable and long-lasting
- Allows the book to lay flat when open
- Enables easy page removal or addition
Advantages:
- Cost-effective option
- Allows for easy page changes
Disadvantages:
- May not offer the most professional appearance
- Not as durable as some other methods
Advantages:
- Provides a professional appearance
- Stacks neatly and compactly
Advantages:
- Durable and stackable
- Allows for easy page changes
Disadvantages:
- More expensive than some other options
When selecting a binding method, consider the specific needs of your project. Do you prioritize durability, cost-effectiveness, or a professional appearance? By weighing the advantages and disadvantages, you can choose the binding method that best fits your requirements.
In conclusion, saddle stitch binding is a cost-effective and versatile method of binding booklets and thin books. Whether you’re a commercial bookbinder or a DIY enthusiast, understanding the basics of bookbinding and exploring different binding methods can help you choose the best option for your specific needs.
With saddle stitch binding, you can achieve a professional finish at an affordable price. It is widely used in the industry for printing magazines, catalogues, and personal notebooks. The process involves using staples to bind thin books or notebooks, providing a secure and durable binding.
By exploring other binding options like perfect binding, wire-o binding, spiral binding, and comb binding, you can determine which method suits your project requirements, budget, and aesthetic preferences. Each method has its own advantages and disadvantages, so it’s important to weigh these factors before making a decision.
Whether you’re looking to print a small booklet or a larger publication, saddle stitch booklet binding offers a reliable and cost-effective solution. Its simplicity and efficiency make it a popular choice among publishers, designers, and individuals seeking quality bookbinding. With a good understanding of bookbinding basics and the range of binding methods available, you can confidently bring your ideas to life.
Saddle stitch binding is a method of binding thin books or notebooks using staples.
Commercial saddle stitch binding uses staple bullets to hold the pages together, creating a faster and more cost-effective binding method compared to perfect binding.
Saddle stitch binding has limitations in terms of the thickness of the book and the durability of the binding.
Yes, saddle stitch books often come with a soft book cover.
Yes, handmade saddle stitch books can be created using thread, resulting in a longer-lasting book.
For a DIY saddle stitch binding project, you will need materials such as paper, a ruler, pencil, penknife, cutting mat, awl or hole puncher, needle, thread, and wax.
The duration of a DIY saddle stitch binding project depends on the thickness of the book and can take 2-3 hours.
The most common types of booklet binding include saddle stitching, wire-o binding, spiral binding, and perfect binding.
The less common types of booklet binding include sewn bound (center sewn or side sewn), comb binding, screw binding, tape binding, and side stitch binding.
Yes, unique types of booklet binding include carabiner binding and hidden wire-o binding.
Yes, saddle stitched booklets should have a page count that is a multiple of four, and it’s important to consider creep, which is the narrowing of inner pages in bound books.
The process involves setting up the document size, margins, and bleeds, and can be done using Adobe InDesign’s print booklet feature.
Saddle stitch binding is cost-effective and suitable for thin books but has limited thickness and durability. Perfect binding offers a professional appearance but cannot be easily modified. Wire-o binding is durable and lays flat, while comb binding is cost-effective but less professional-looking. Tape binding stacks well and offers a nice appearance, while screw binding is durable and stackable but more expensive.
Saddle stitch binding is cost-effective and suitable for thin books, making it a popular choice in commercial bookbinding.
For a professional finish, perfect binding or wire-o binding can be good options, depending on your specific needs.
Copyright © 2025 Five Horizons. All Rights Reserved.